In my previous post, I have explained how to mount a Grove Base Hat onto your Raspberry Pi and install the Seeed Studio provided grove.py software. In this post, I’m going to show you how to use a Grove Temperature and Humidity Sensor Pro with your Raspberry Pi.
Connecting the Grove Temperature and Humidity Sensor Pro with the Grove Base Hat for Raspberry Pi
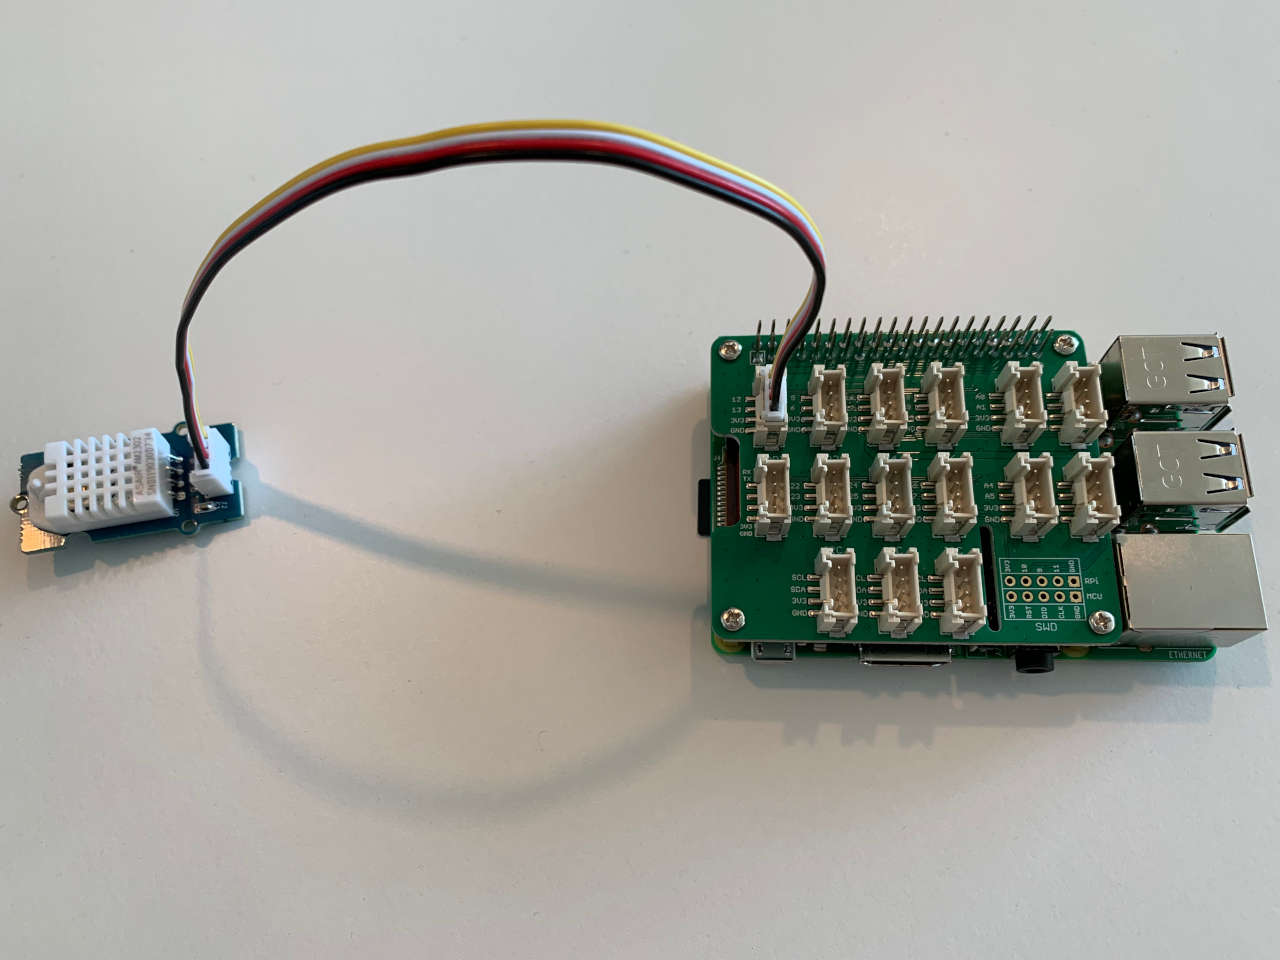
Connecting the sensor with the base hat is straight forward.
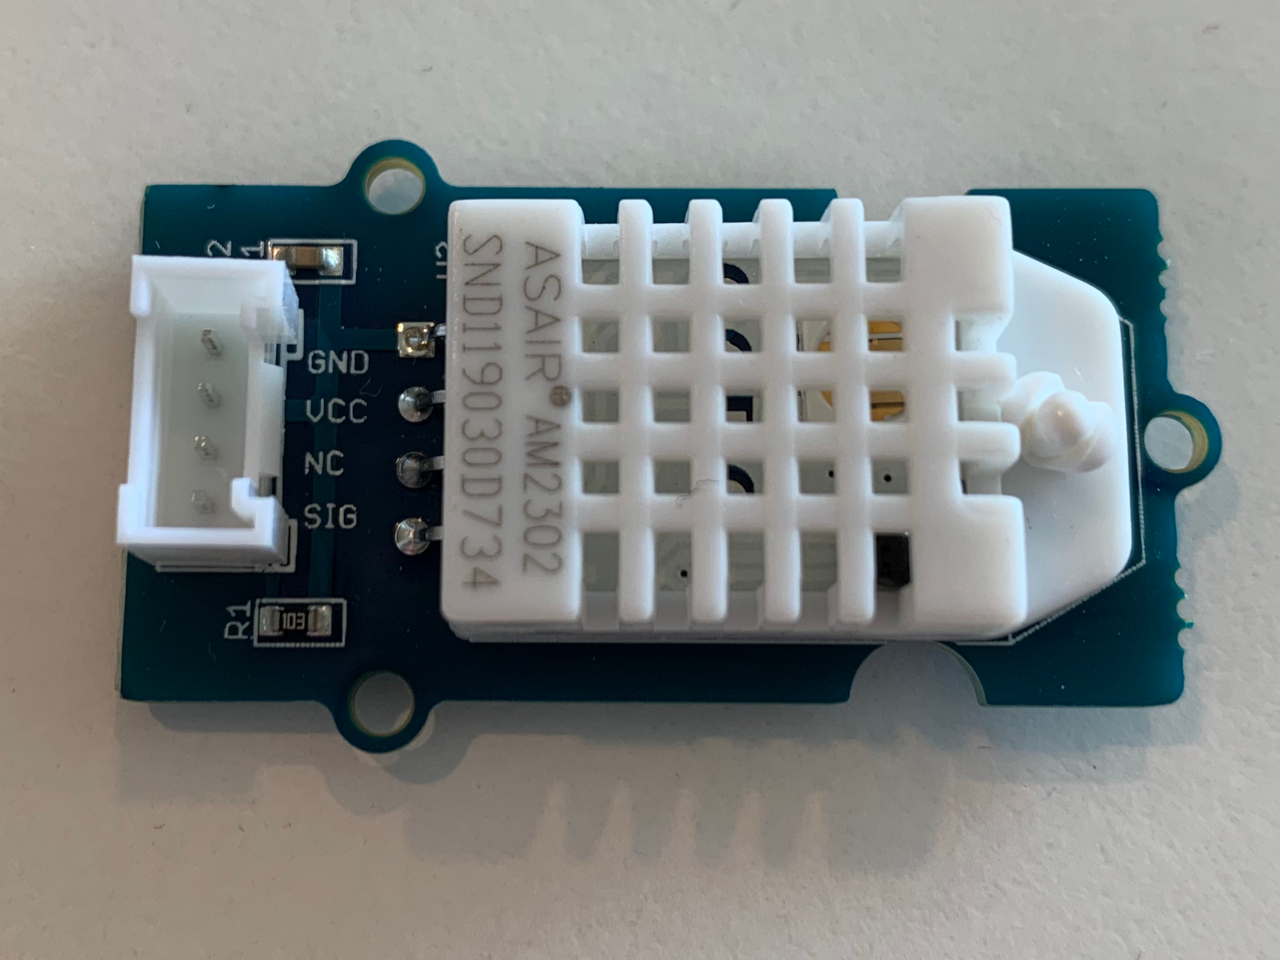
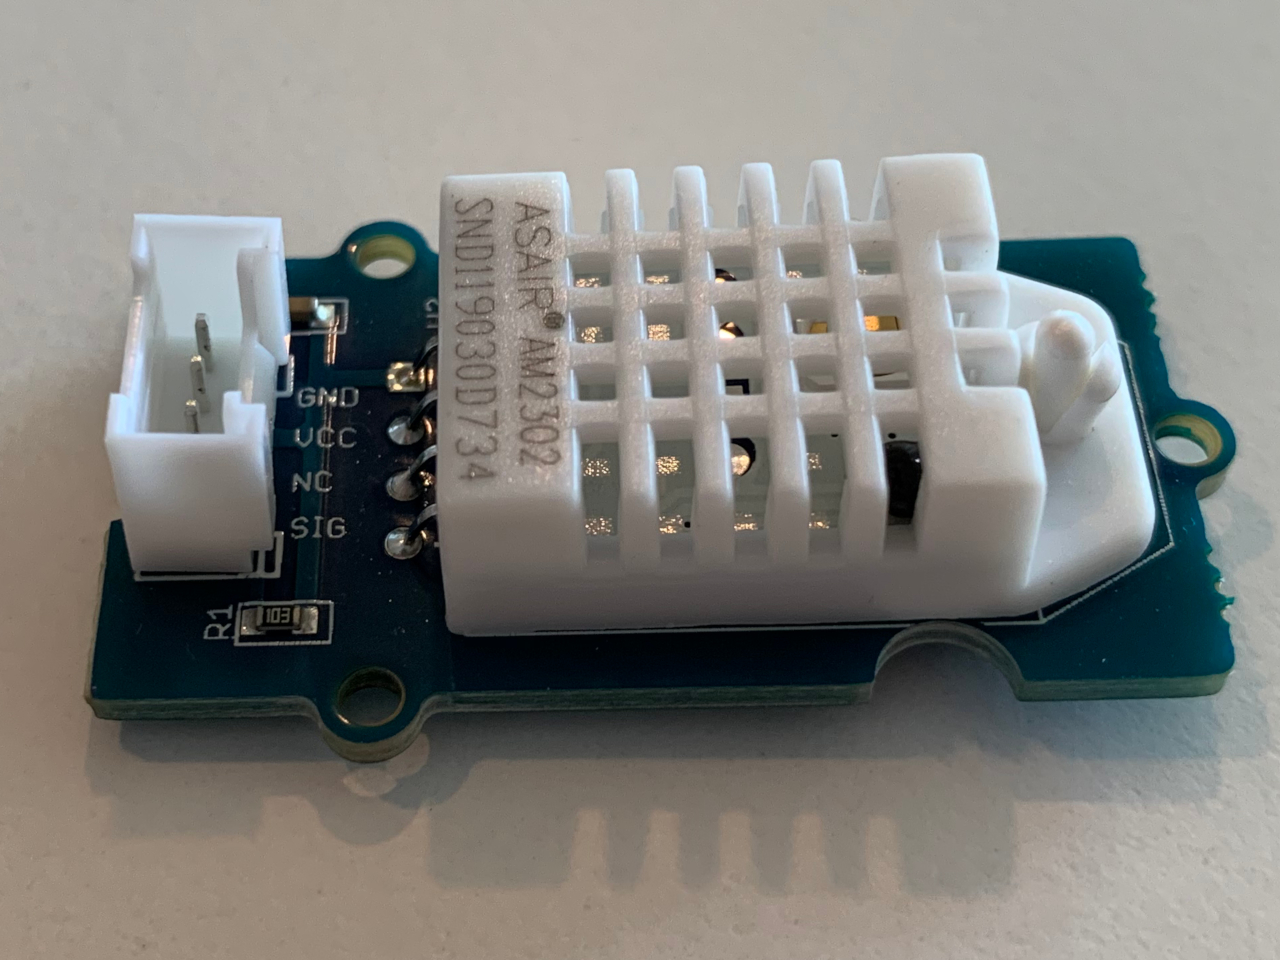

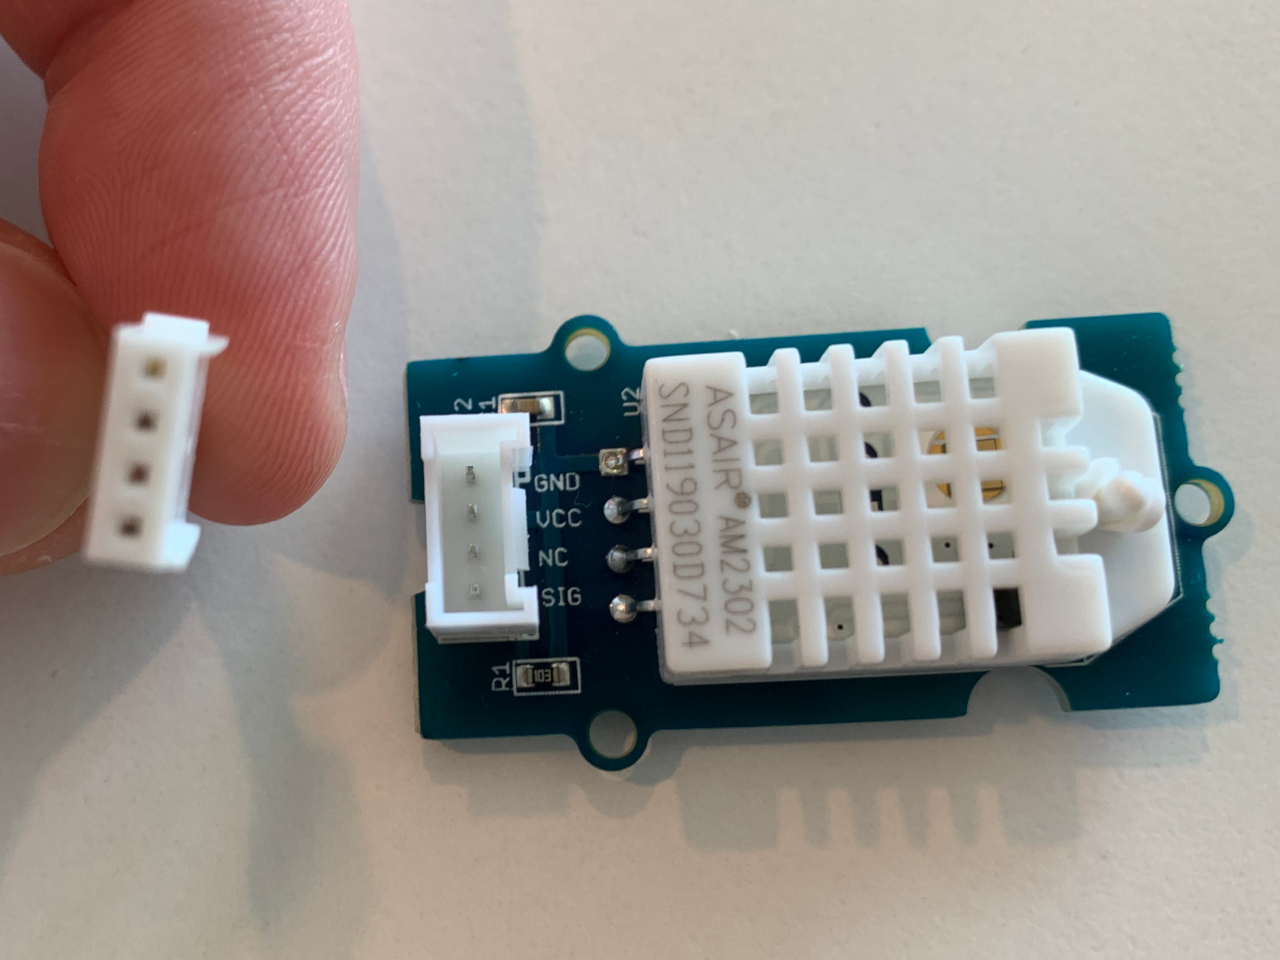
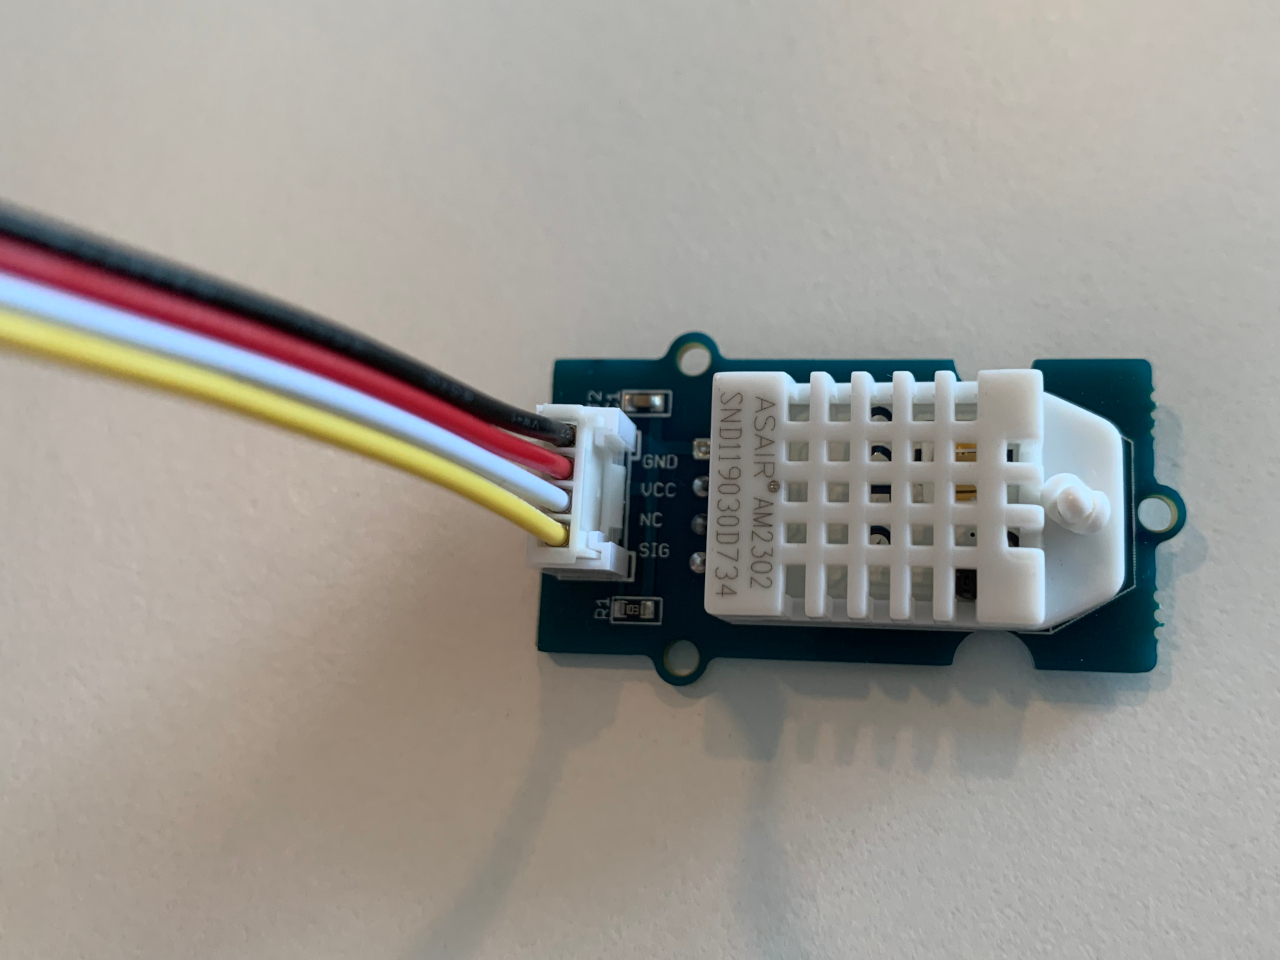
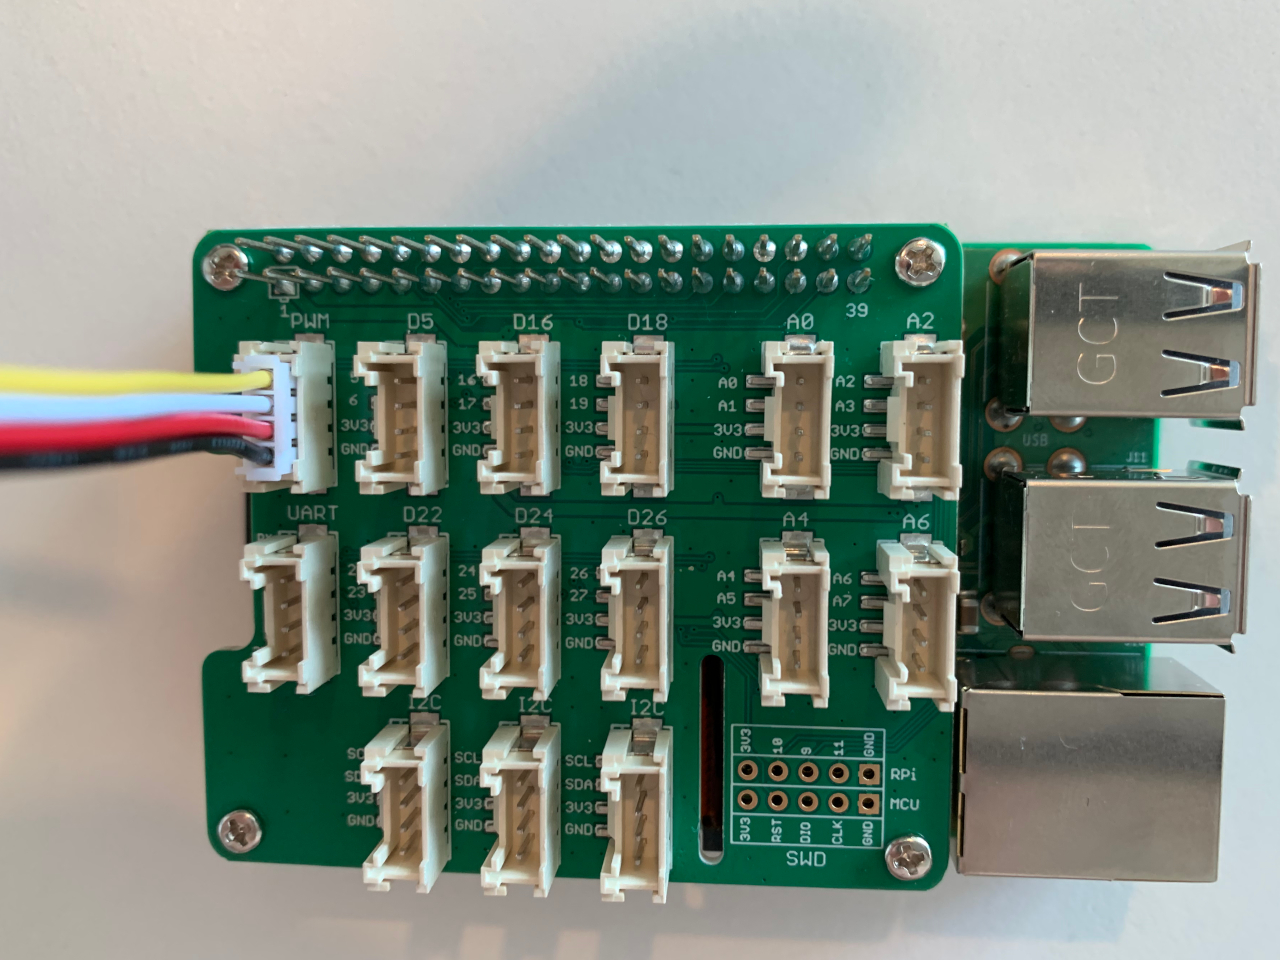
First, put the cable into the sensor. There is only one way the cable fits, you will see two guiding tracks on one side of the cable that you have to fit into the socket accordingly.
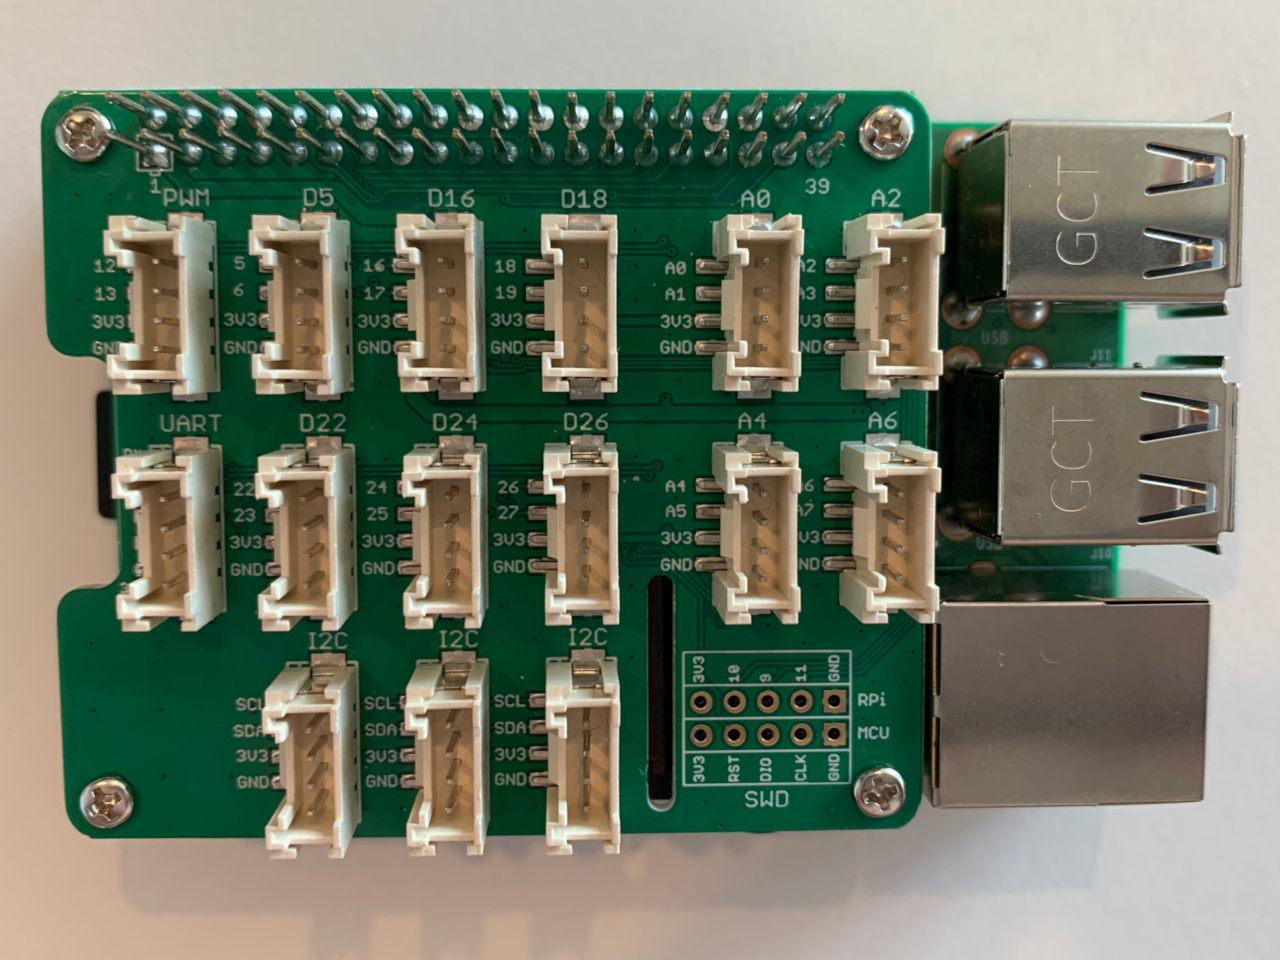
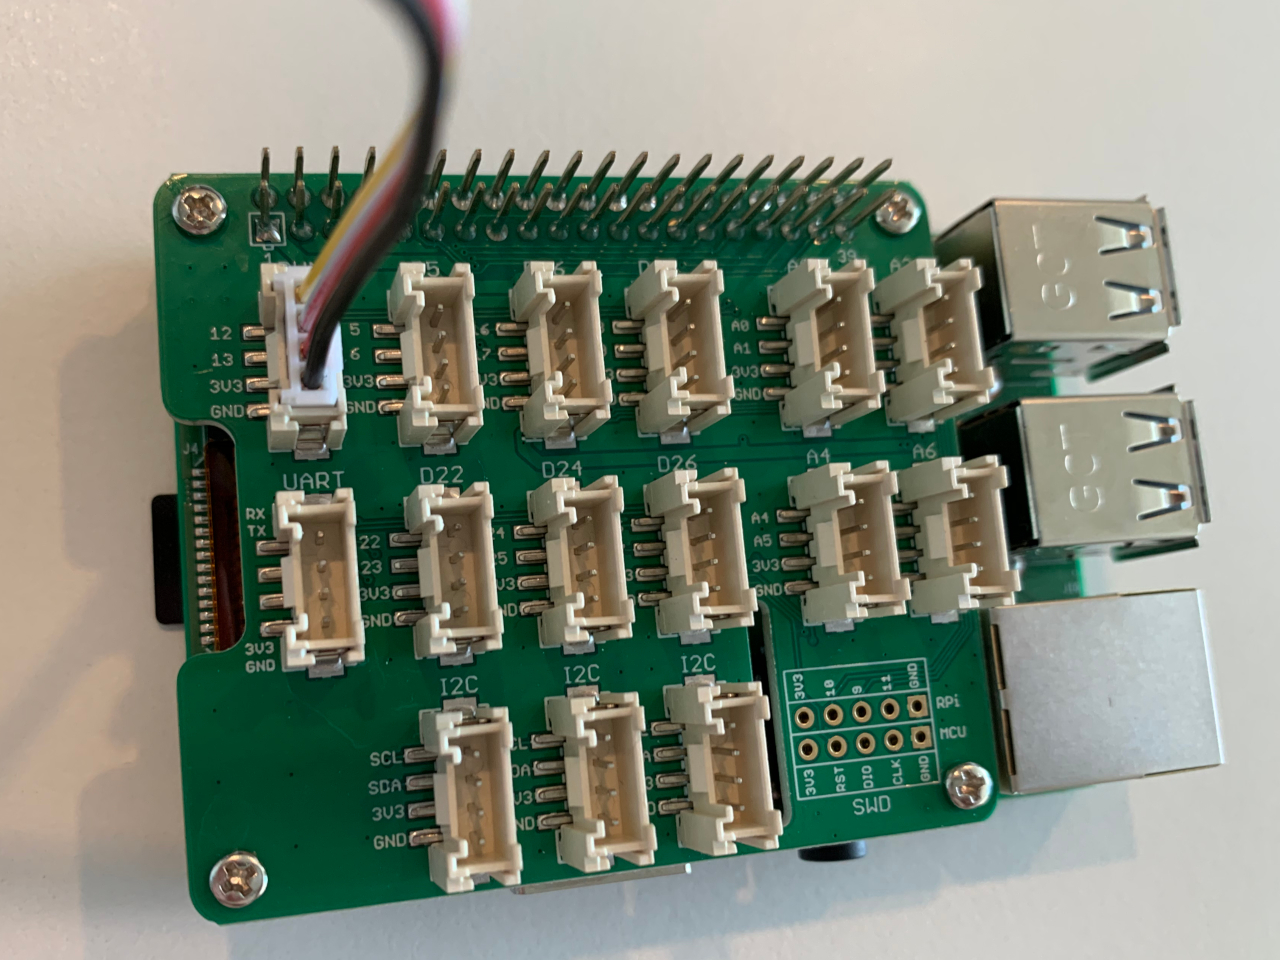
On the Grove Base Hat, you have to attach the cable into the PWM socket, which is the top left one in the picture below. Just like the sensor, the cable only fits one way into the socket, watch out for the guiding tracks.
Reading the temperature and humidity from the sensor
Once the sensor is connected and the Raspberry Pi is powered up, you can reach your sensor on pin 12 (marked asPWM on the Grove Base Hat). However, before you can read the sensor, you will have to install one additional Python package called seeed-python-dht. You can install it with the following command: pip3 install seeed-python-dht
pi@gvenzl-raspberrypi-1:~ $ pip3 install seeed-python-dht
Looking in indexes: https://pypi.org/simple, https://www.piwheels.org/simple
Collecting seeed-python-dht
Downloading https://www.piwheels.org/simple/seeed-python-dht/seeed_python_dht-0.0.2-py3-none-any.whl
Installing collected packages: seeed-python-dht
Successfully installed seeed-python-dht-0.0.2
Once the package is installed, import it into your Python script, instantiate a new DHT object for sensor type DHT22 and pin 12, and read the sensor reading via the .read() method:
https://gist.github.com/gvenzl/af524e22f69ba3dab021e84ca1df4c88
The result will look like this:
pi@gvenzl-raspberrypi-1:~ $ ./Grove_Temperature_Humidity_Sensor_Pro.py
DHT22, humidity 42.2%, temperature 23.0C
DHT22, humidity 42.2%, temperature 23.0C
DHT22, humidity 42.1%, temperature 23.0C
DHT22, humidity 42.2%, temperature 23.0C
DHT22, humidity 42.1%, temperature 23.0C
DHT22, humidity 42.2%, temperature 23.0C
^CExiting program.
Notice: Unfortunately the Temperature and Humidity Sensor Pro doesn’t seem to be very reliable over a longer period of time. After a while, the sensor, or the provided Python library, it is still to be determined, stops reporting new readings and continues to report the last successful one. The only way that I have currently found to remedy the issue is by unplugging and plugging the sensor into the base hat again. I’m in contact with Seeed Studio Support on the matter and will update this post once we get to the root cause.
If you want to get your own Grove Temperature and Humidity Sensor Pro you can buy it here from Seeed Studio.
Pingback: How to use a Grove Air Quality Sensor with a Raspberry Pi – Gerald on IT
Hello,
first of all, thank you for your tutorials, I followed more than one !
I’m working on a project with raspberry pi 3B + grove base hat + SHT31 sensor, it works well.
Now I want to add two more SHT31 sensors. There are 3 i2c slots, so I think it’s possible.
I wonder how to read the data from these 3 sensors? In the code provided, I do not see at any time the allocation of the slot number?
Have you already tested several sensors on a grove hat ?
Thanks a lot
https://wiki.seeedstudio.com/Grove-TempAndHumi_Sensor-SHT31/#software_1
Hi Nine!
Thanks a lot, I’m glad that you found them helpful!
Unfortunately, I did not try multiple SHT31 sensors all at once. You could try to submit your question in the Seeed Studio Forum and hopefully someone can help you there with your inquiry.
Thanks,
Thank you for your feedback,
Yes I asked on the forum…I’m looking forward to the answer!
According to my readings, the devices that we connect on the i2c bus must not have the same address assigned.
Some devices have the possibility to change their address, others not.
There is also the possibility to put an i2c multiplexer but I don’t know much about it 🙁
Here is a link I found that explains these things :
https://www.instructables.com/Raspberry-PI-Multiple-I2c-Devices/
If you have to do this experiment with several i2c sensors, I will be obviously very interested and happy to read your post 🙂
thanks,
n
Thanks Nine!
If you do get an answer, please feel free to also post it in a comment here for the benefit of other readers! 🙂
Thanks,
Pingback: How to IOT enable your Raspberry Pi – Gerald on IT