In my previous post, I have explained how to connect a Grove Temperature and Humidity Sensor Pro with your Raspberry Pi and read data from it via Python. In this post, I’m going to show you how to use a Grove Air Quality Sensor (v 1.3) with your Raspberry Pi.
Connecting the Grove Air Quality Sensor with the Grove Base Hat for Raspberry Pi
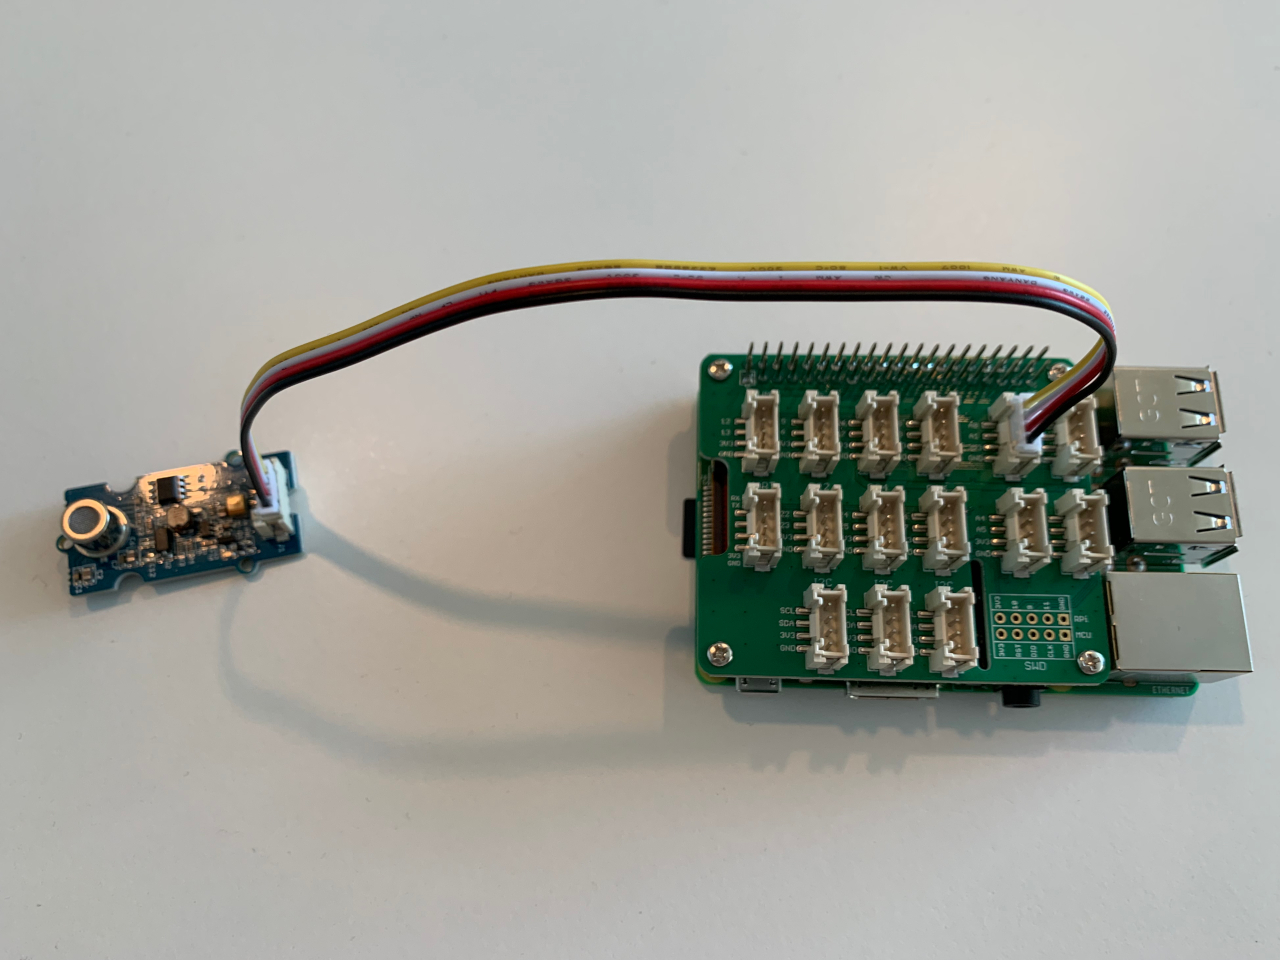
Connecting the sensor with the Gove Base Hat is just as straight forward as it was to connect the Temperature and Humidity sensor. The only difference is that the Air Quality Sensor uses an analog socket, instead of a digital one.
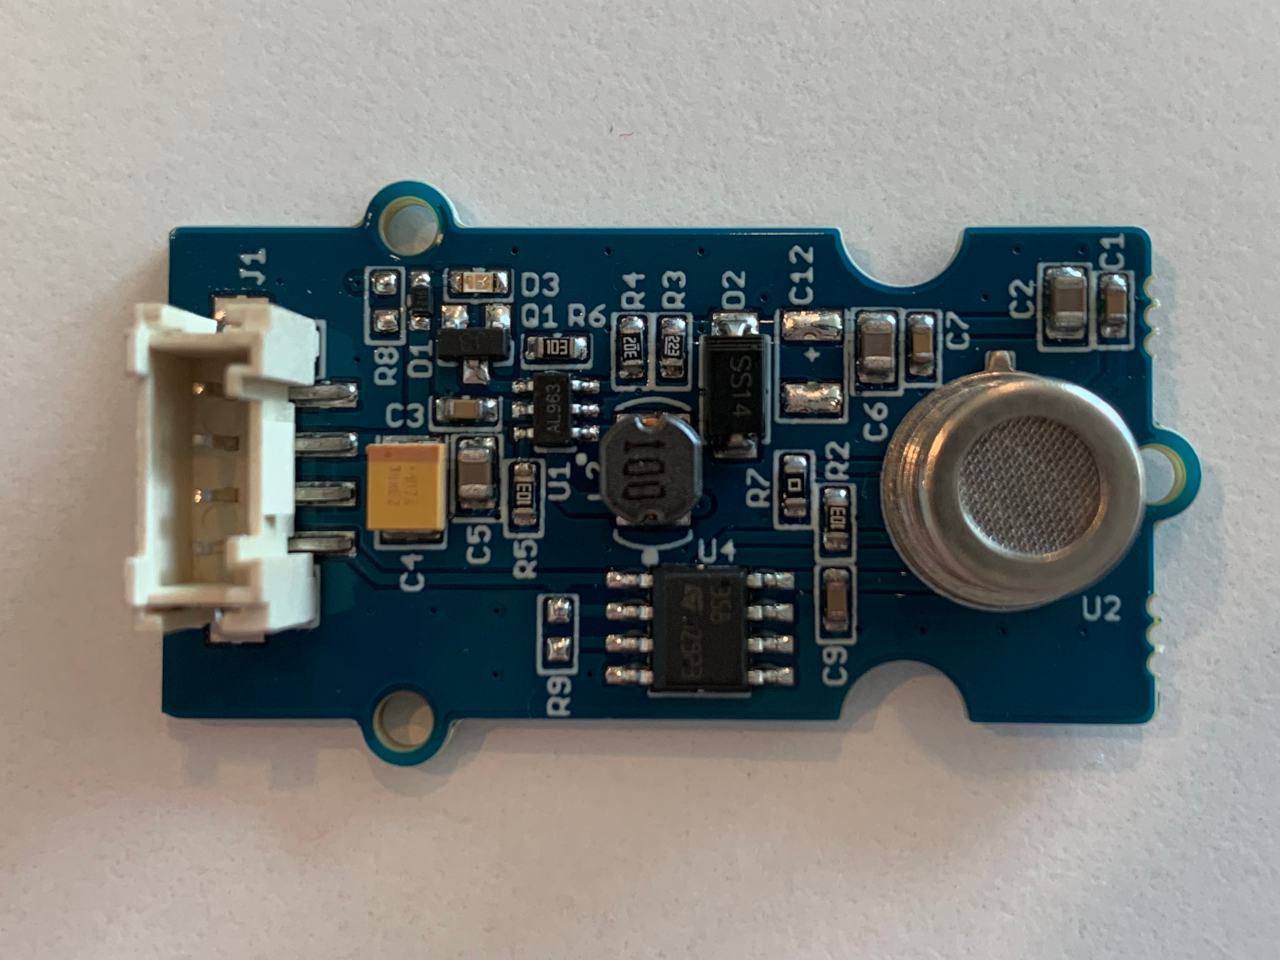
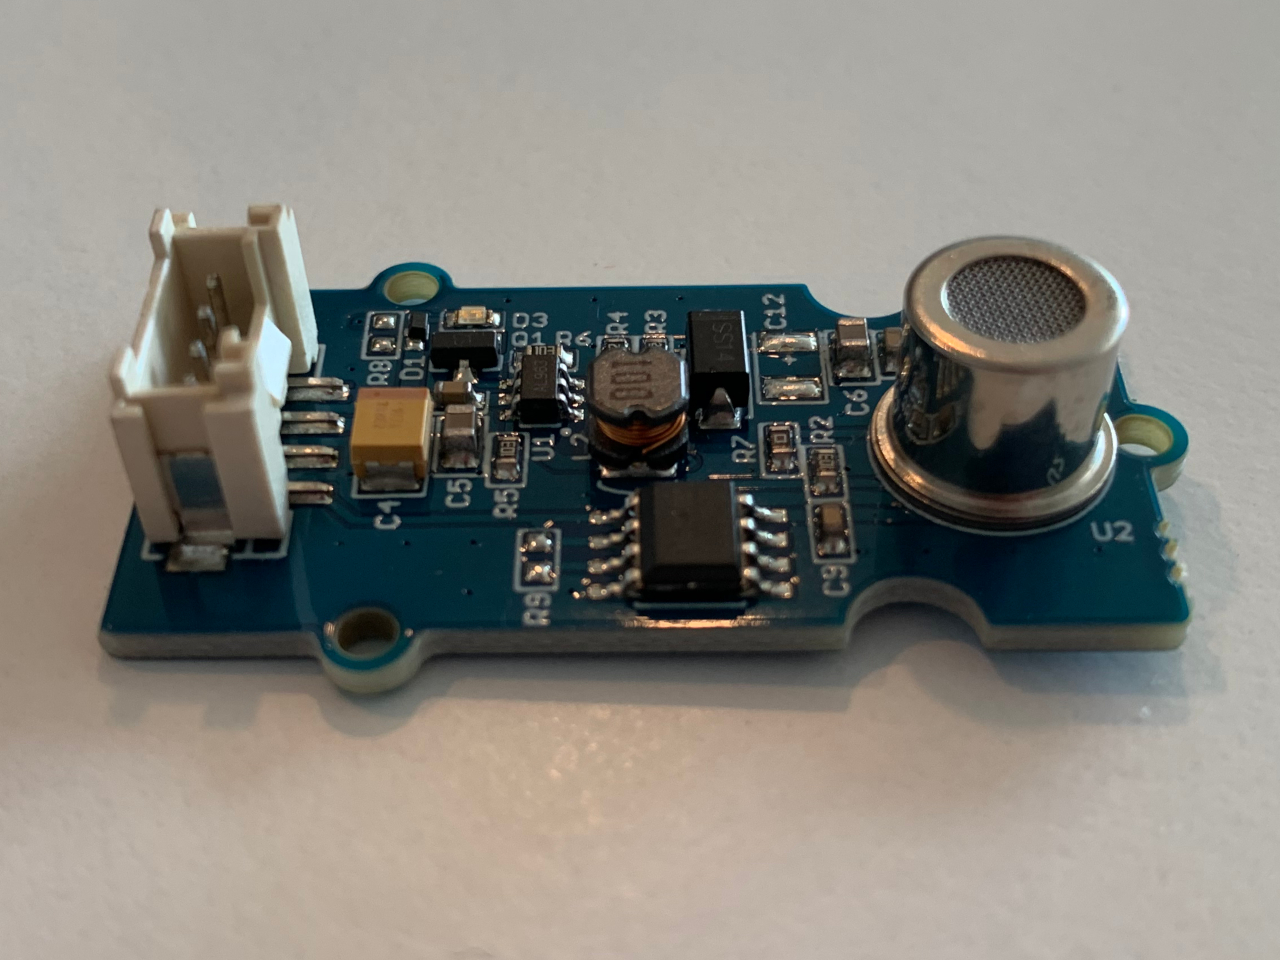
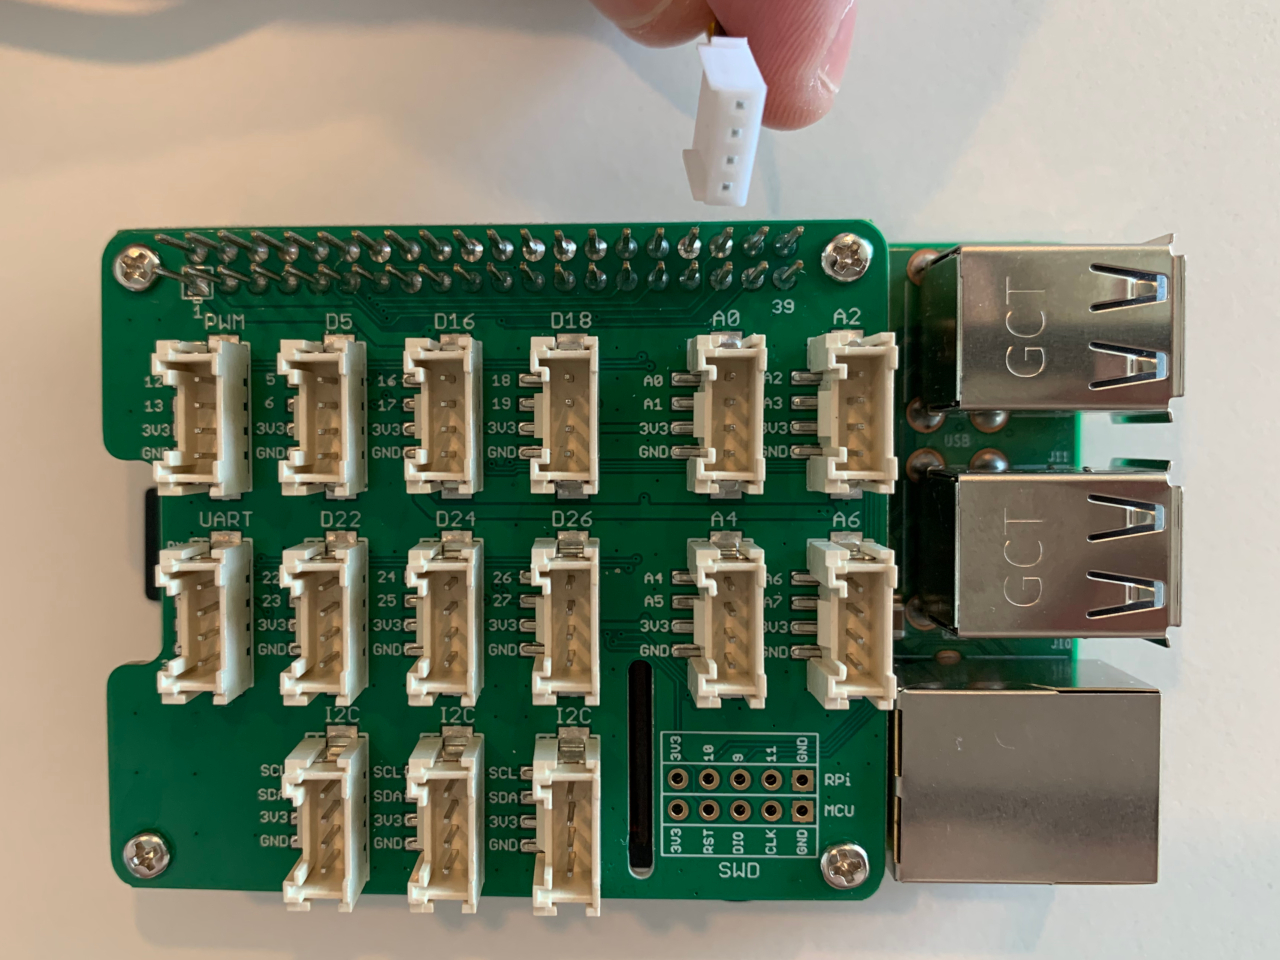
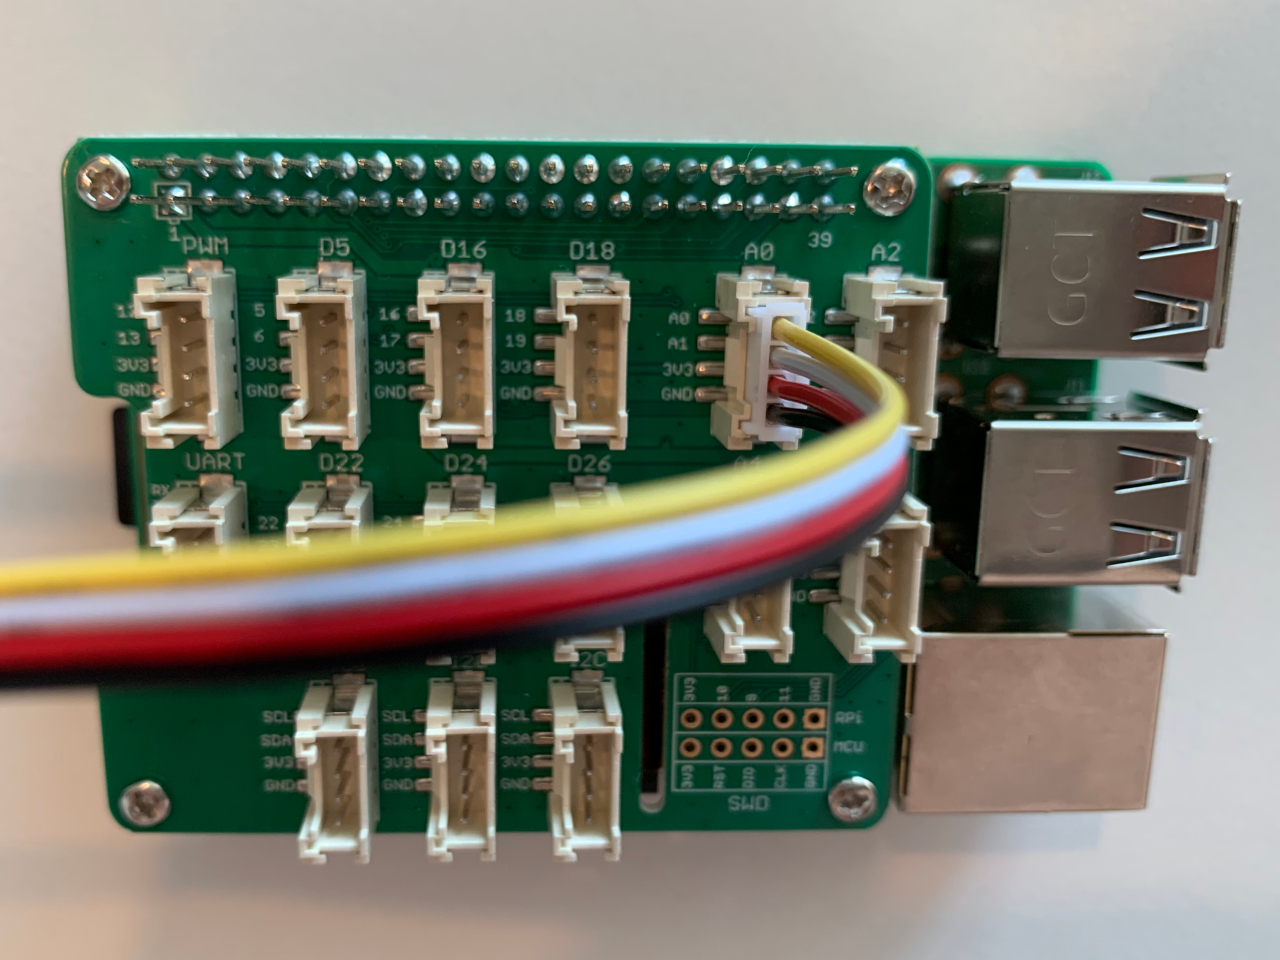
First, connect the cable with the sensor. The cable plug has two guiding tracks that will only fit one way into the socket, watch out for them.
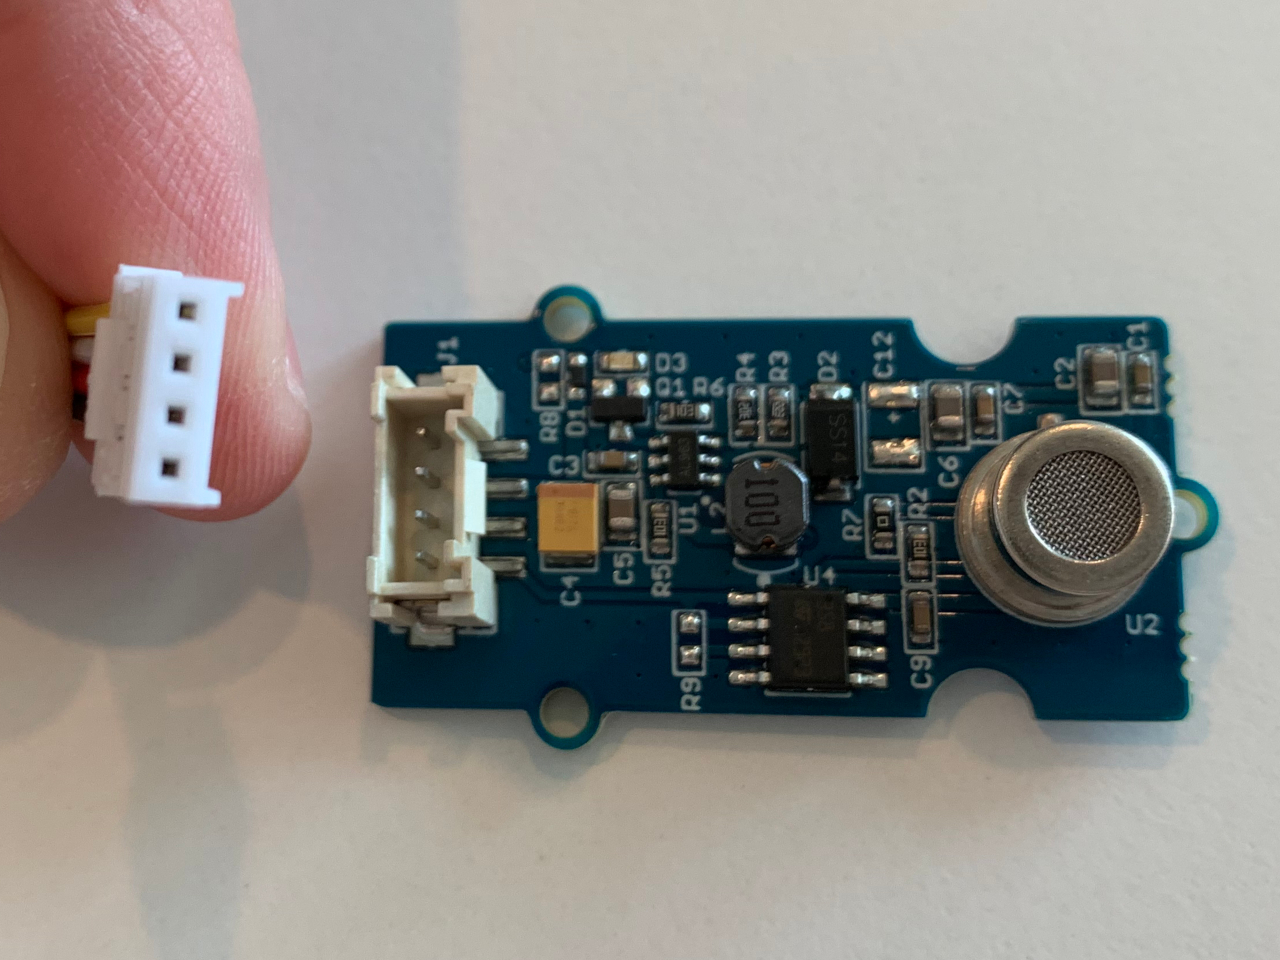
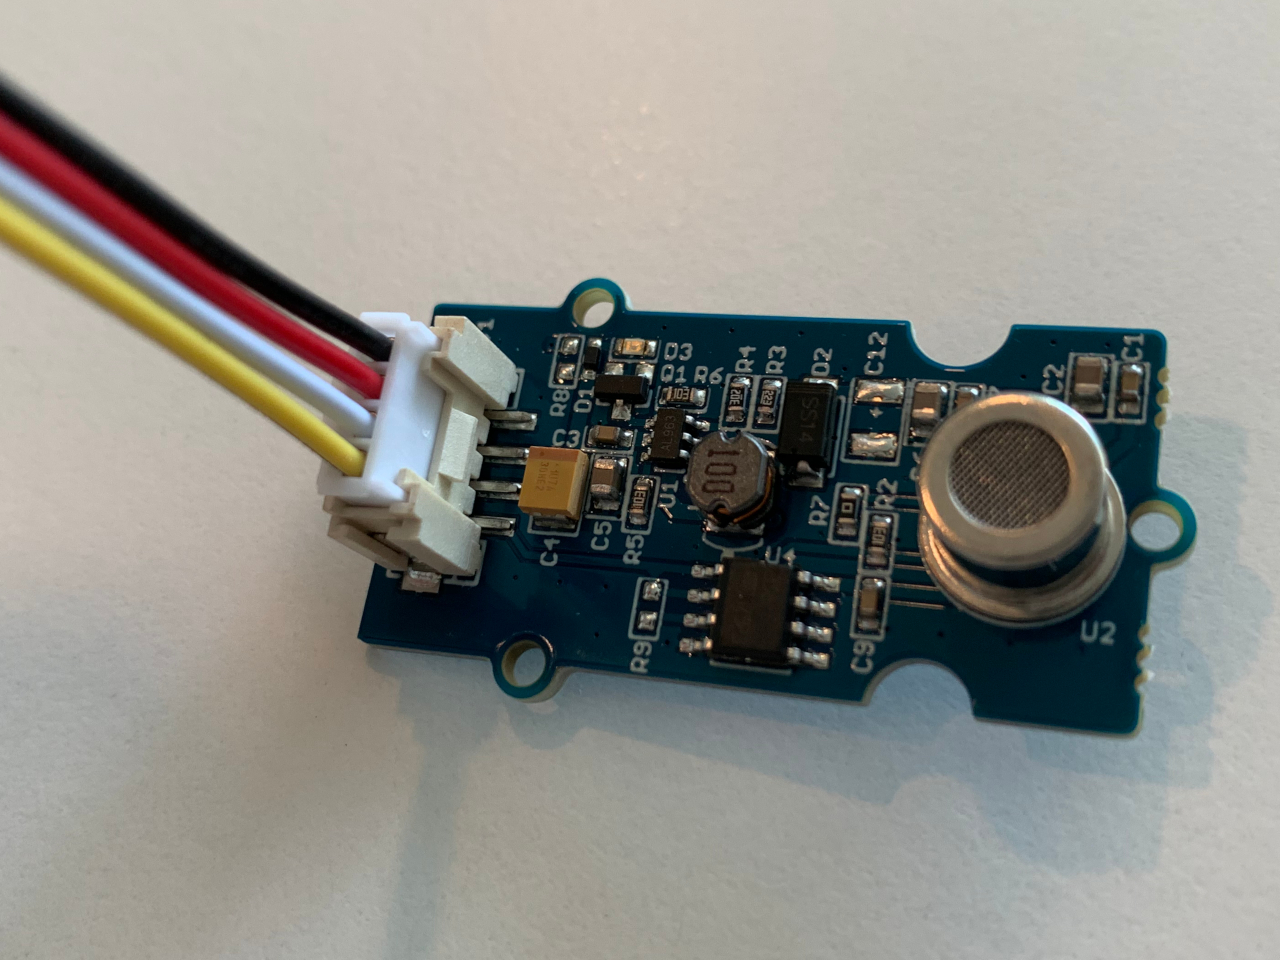
Next, connect the cable with the Grove Base Hat on socket A0.
Reading the air quality from the sensor
Once the sensor is connected and the Raspberry Pi is powered up, you can reach your sensor on pin 0 (marked as A0 on the Grove Base Hat). Seeed Studio already provides a script as part of the grove.py software that you can use to read the sensor data. Just invoke it via grove_air_quality_sensor_v1_3 0, where the 0 is the pin number:
pi@gvenzl-raspberrypi-1:~ $ grove_air_quality_sensor_v1_3 0
Hat Name = 'Grove Base Hat RPi'
Detecting ...
48, Air Quality OK.
51, Air Quality OK.
50, Air Quality OK.
49, Air Quality OK.
49, Air Quality OK.
51, Air Quality OK.
48, Air Quality OK.
^CTraceback (most recent call last):
File "/usr/local/bin/grove_air_quality_sensor_v1_3", line 10, in
sys.exit(main())
File "/usr/local/lib/python3.7/dist-packages/grove/grove_air_quality_sensor_v1_3.py", line 76, in main
time.sleep(.1)
KeyboardInterrupt
You can also write your own little Python program to read the value from the sensor. You need to instantiate a GroveAirQualitySensor object and then read its .value property. The value will be an integer between 0 and 1000 which represents the pollution in the air. 0 would be the cleanest air while 1000 would be the worst polluted air. I find it more user-friendly to divide the integer value by 10 and print out air pollution percentages instead, see line 9 below:
https://gist.github.com/gvenzl/25e71ba2ccab9f7693de2a74ab00aac3
The result of this program will look like this:
pi@gvenzl-raspberrypi-1:~ $ ./Grove_Air_Quality_Sensor.py
Air pollution at 5.6%
Air pollution at 5.7%
Air pollution at 5.9%
Air pollution at 5.7%
Air pollution at 5.8%
Air pollution at 5.8%
Air pollution at 5.6%
Air pollution at 5.9%
Air pollution at 5.7%
^CExiting program.
If you want to get your own Grove Air Quality Sensor v1.3 you can buy it here from Seeed Studio.
Great readinng your blog post
Pingback: How to IOT enable your Raspberry Pi – Gerald on IT